Gear archive · Photo story
Building a Bike for Ice Climbing Approaches
8 photographs · Tap any image to explore the gallery.
Some gear systems start with a plan. This one started with an approach I was tired of fighting.
The first version was simple: an ordinary mountain bike, an ice climbing pack on my back and everything I needed for the day riding with me. On the snowy and icy sections, every weakness in the setup became obvious.
So I started changing one problem at a time.
One change at a time
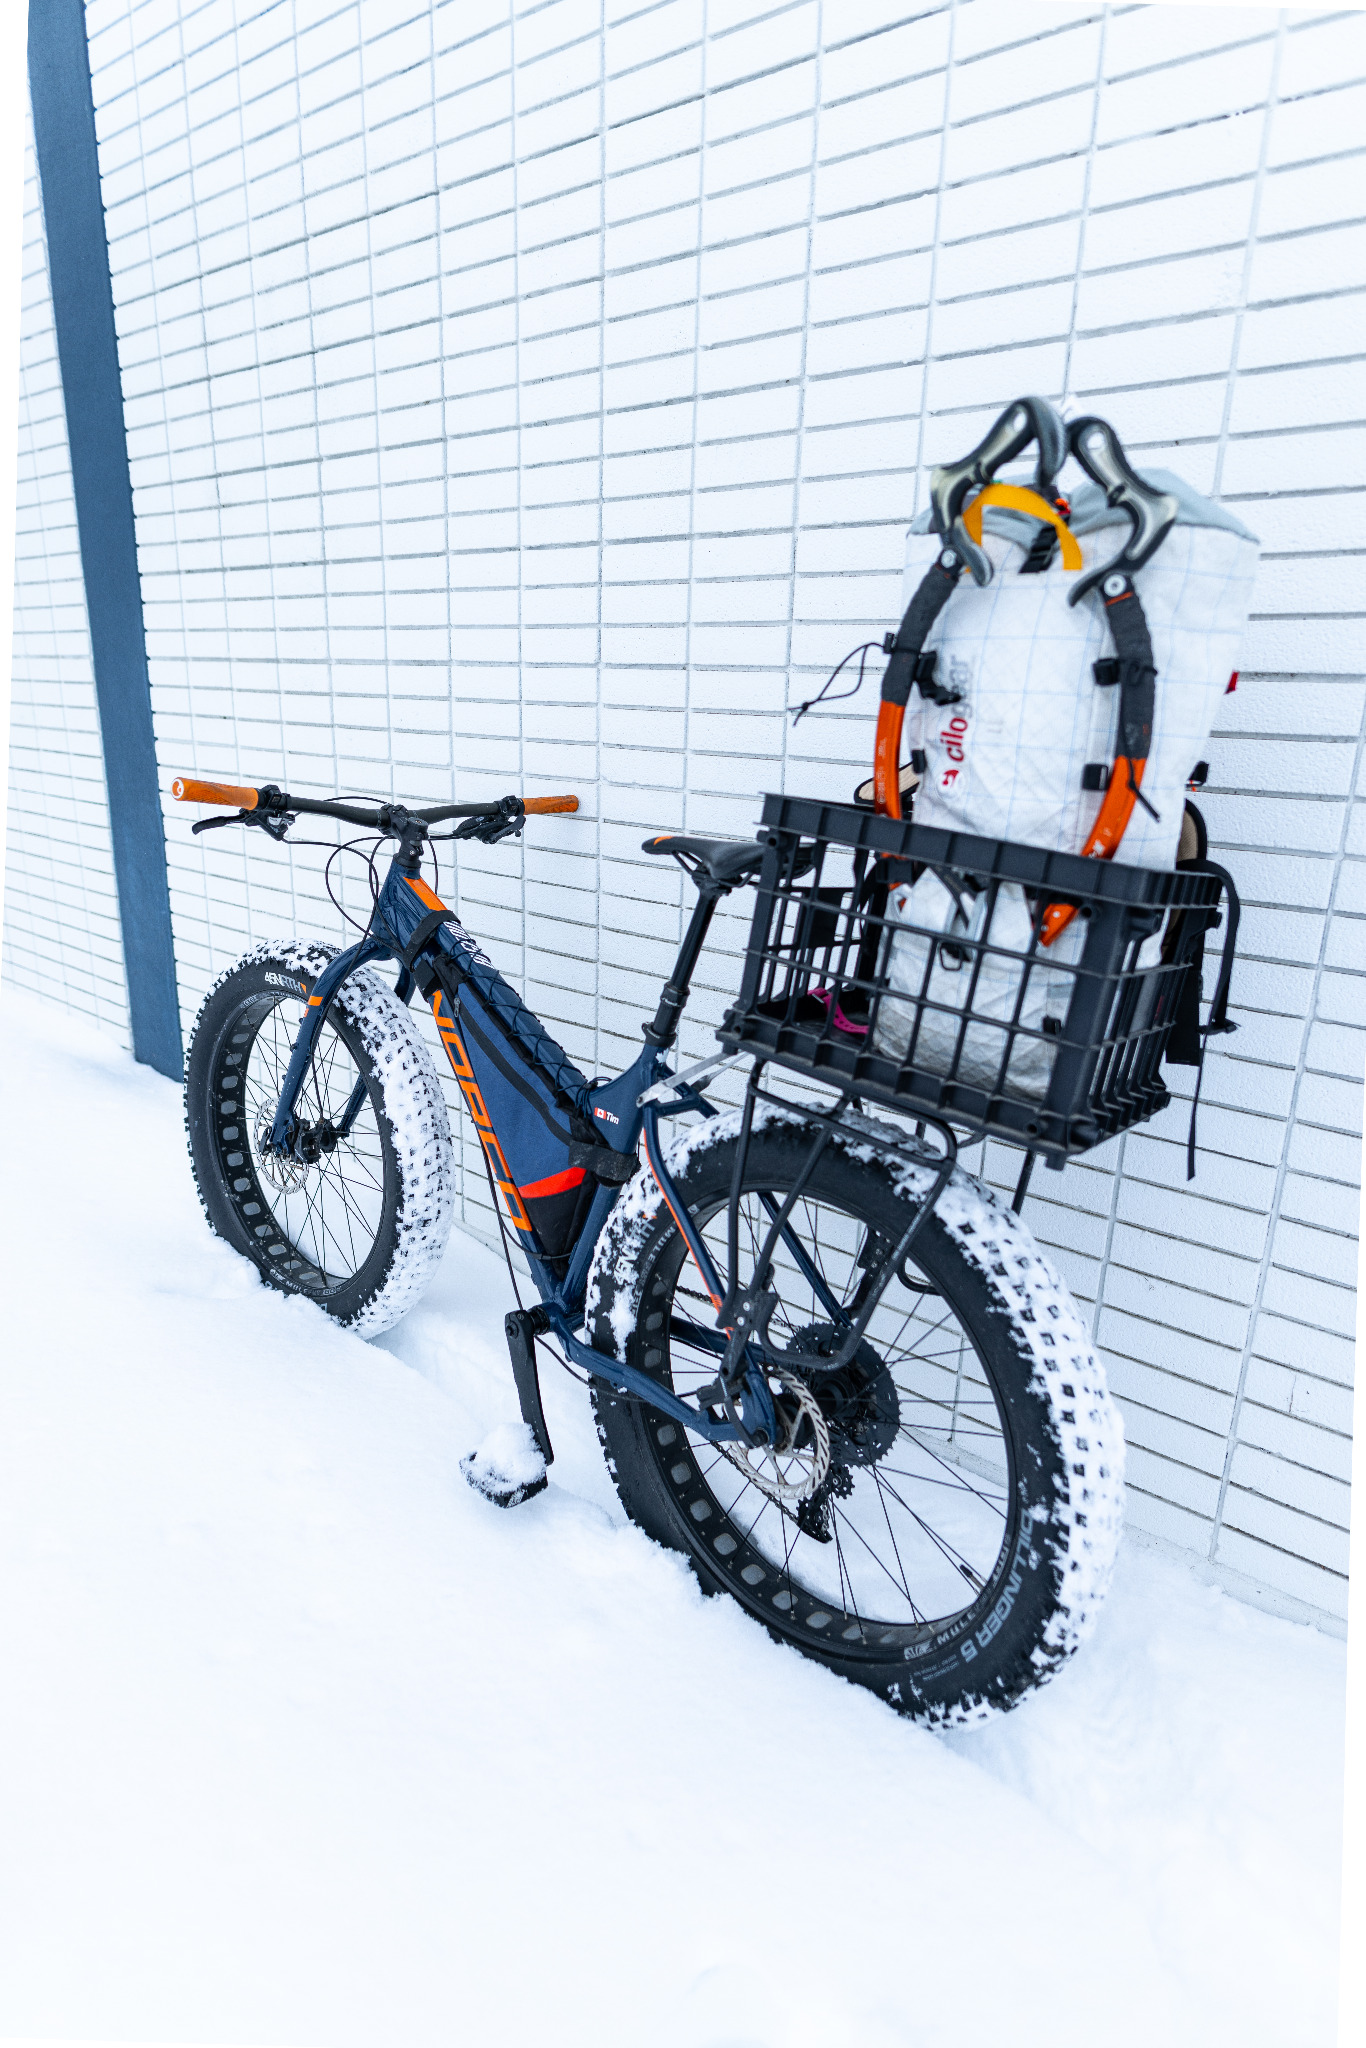
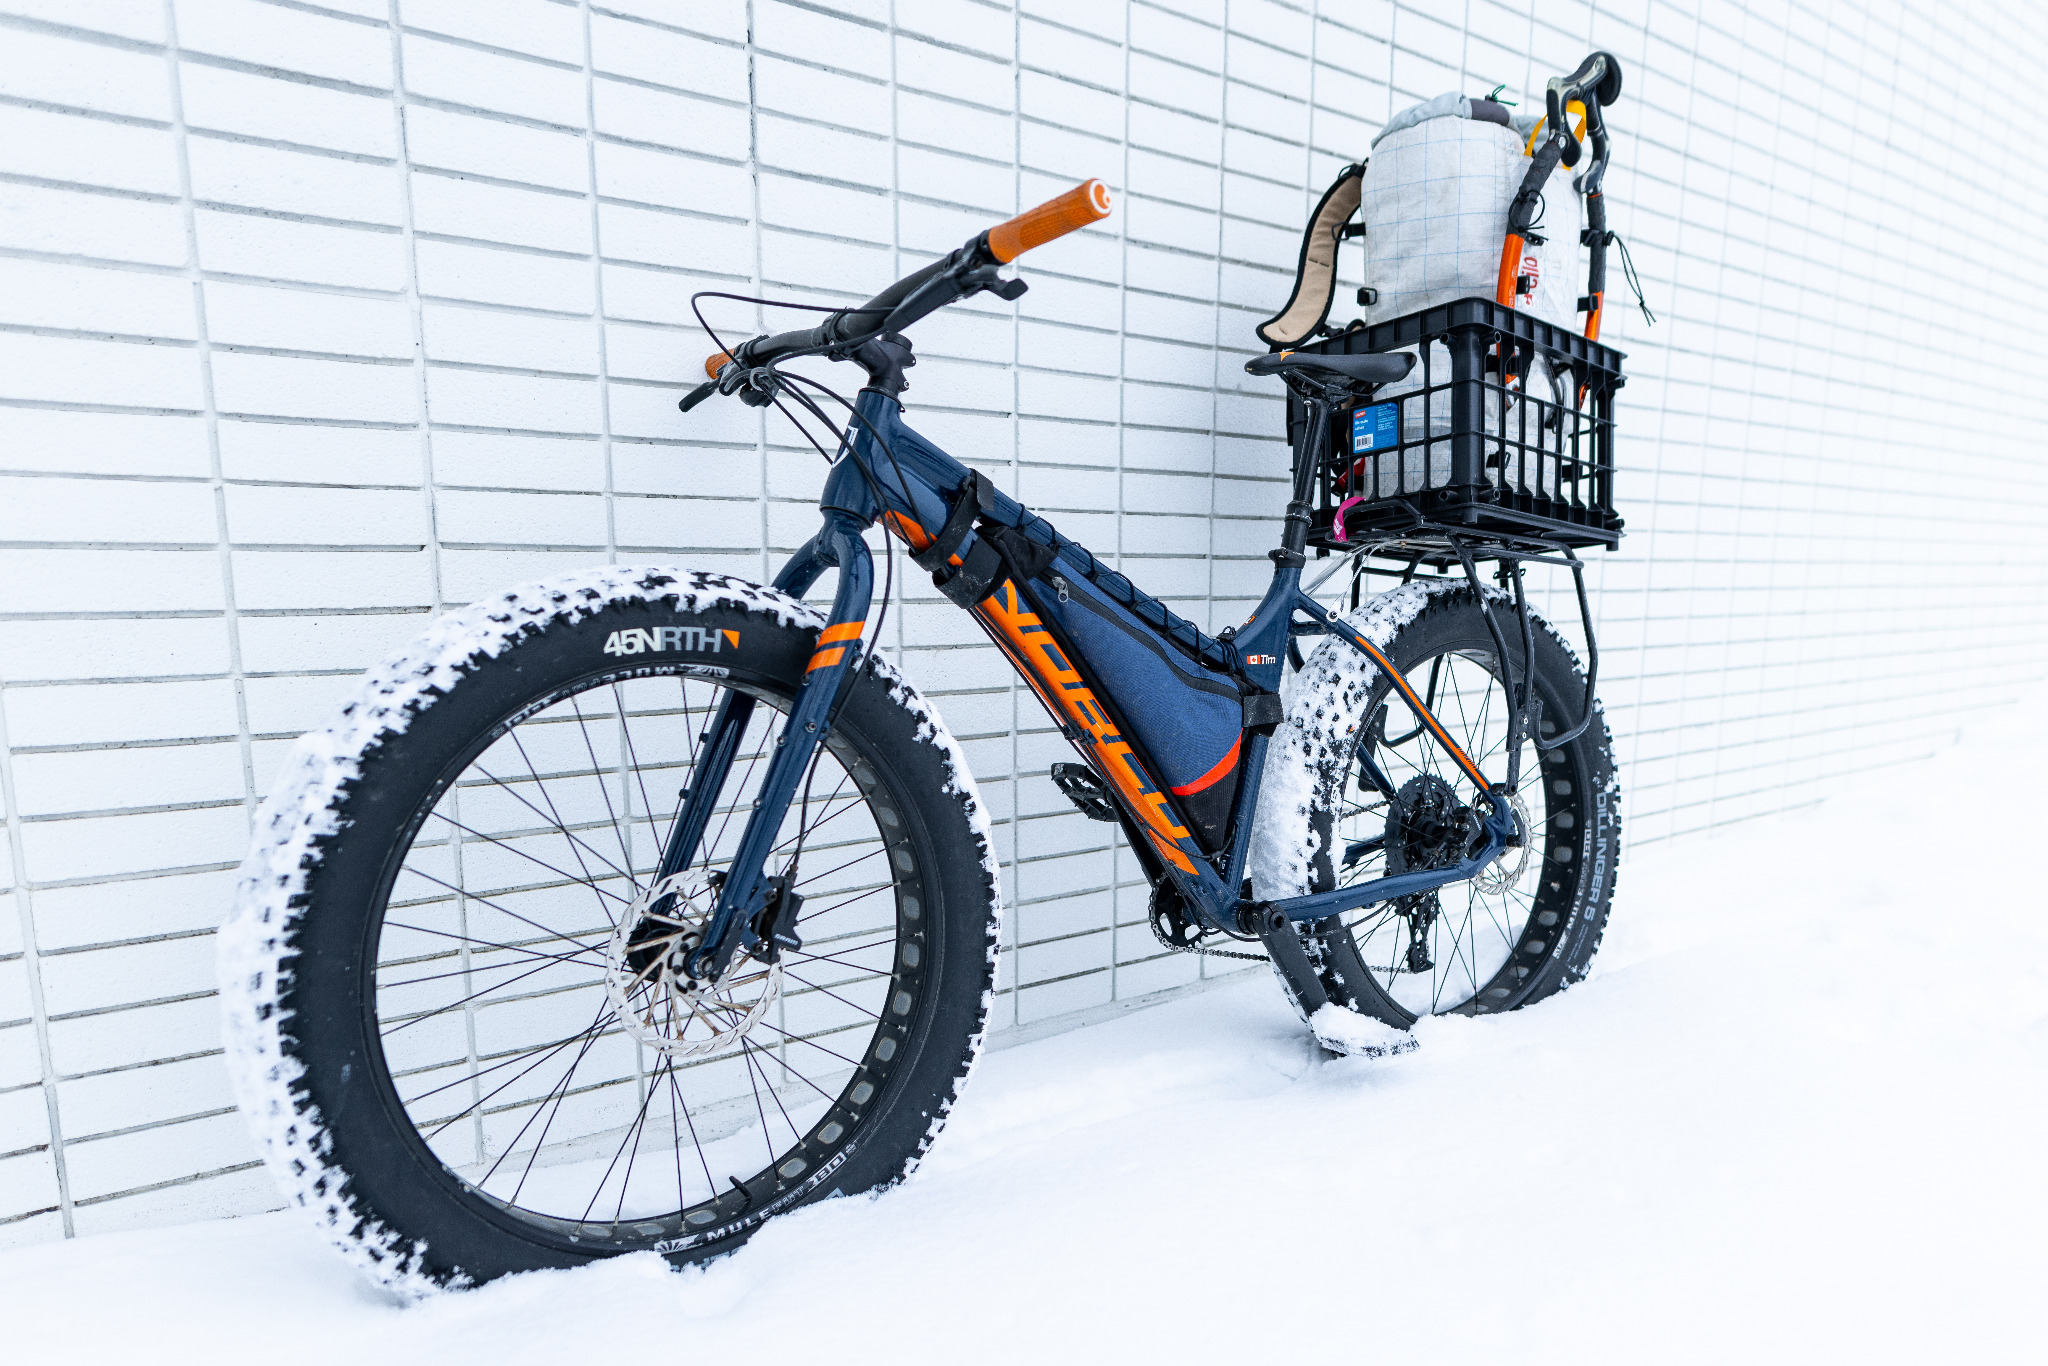
I found a used fat bike. I experimented with tires and lower gearing. Then I started figuring out how to get the climbing load off my back and onto the bike.
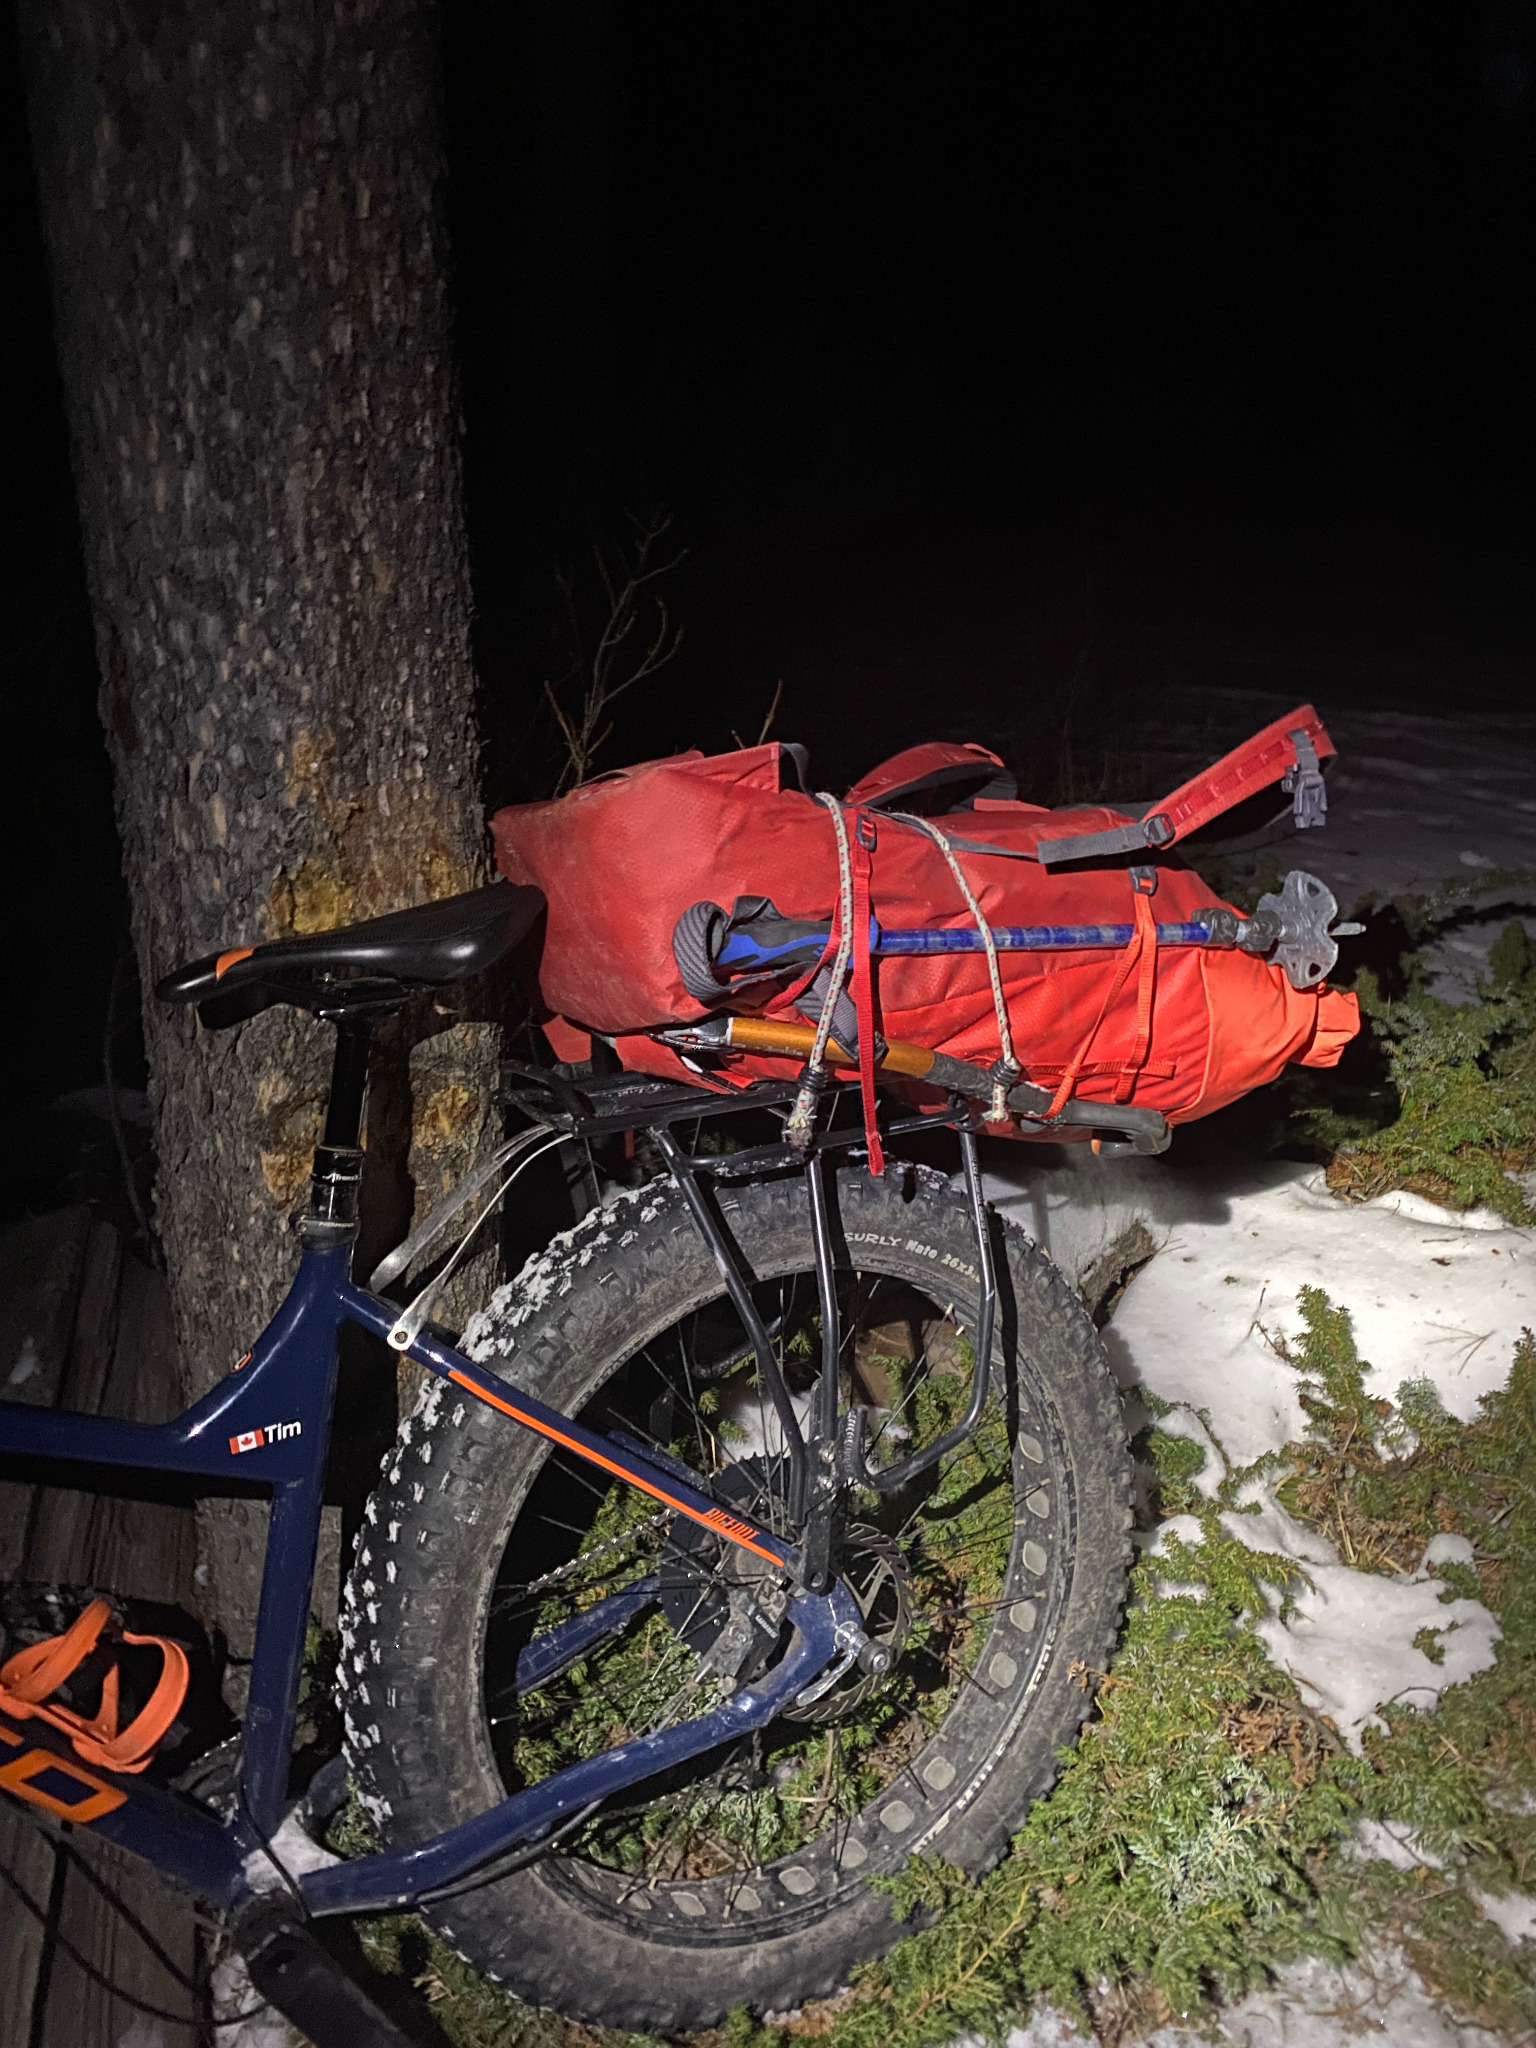
Moving the pack to a rear rack was probably the biggest improvement. It also immediately created another problem. Loose straps, webbing and climbing gear do not belong anywhere near a moving tire.
That became the pattern with the entire build. Fix one problem, ride it, find the next one.
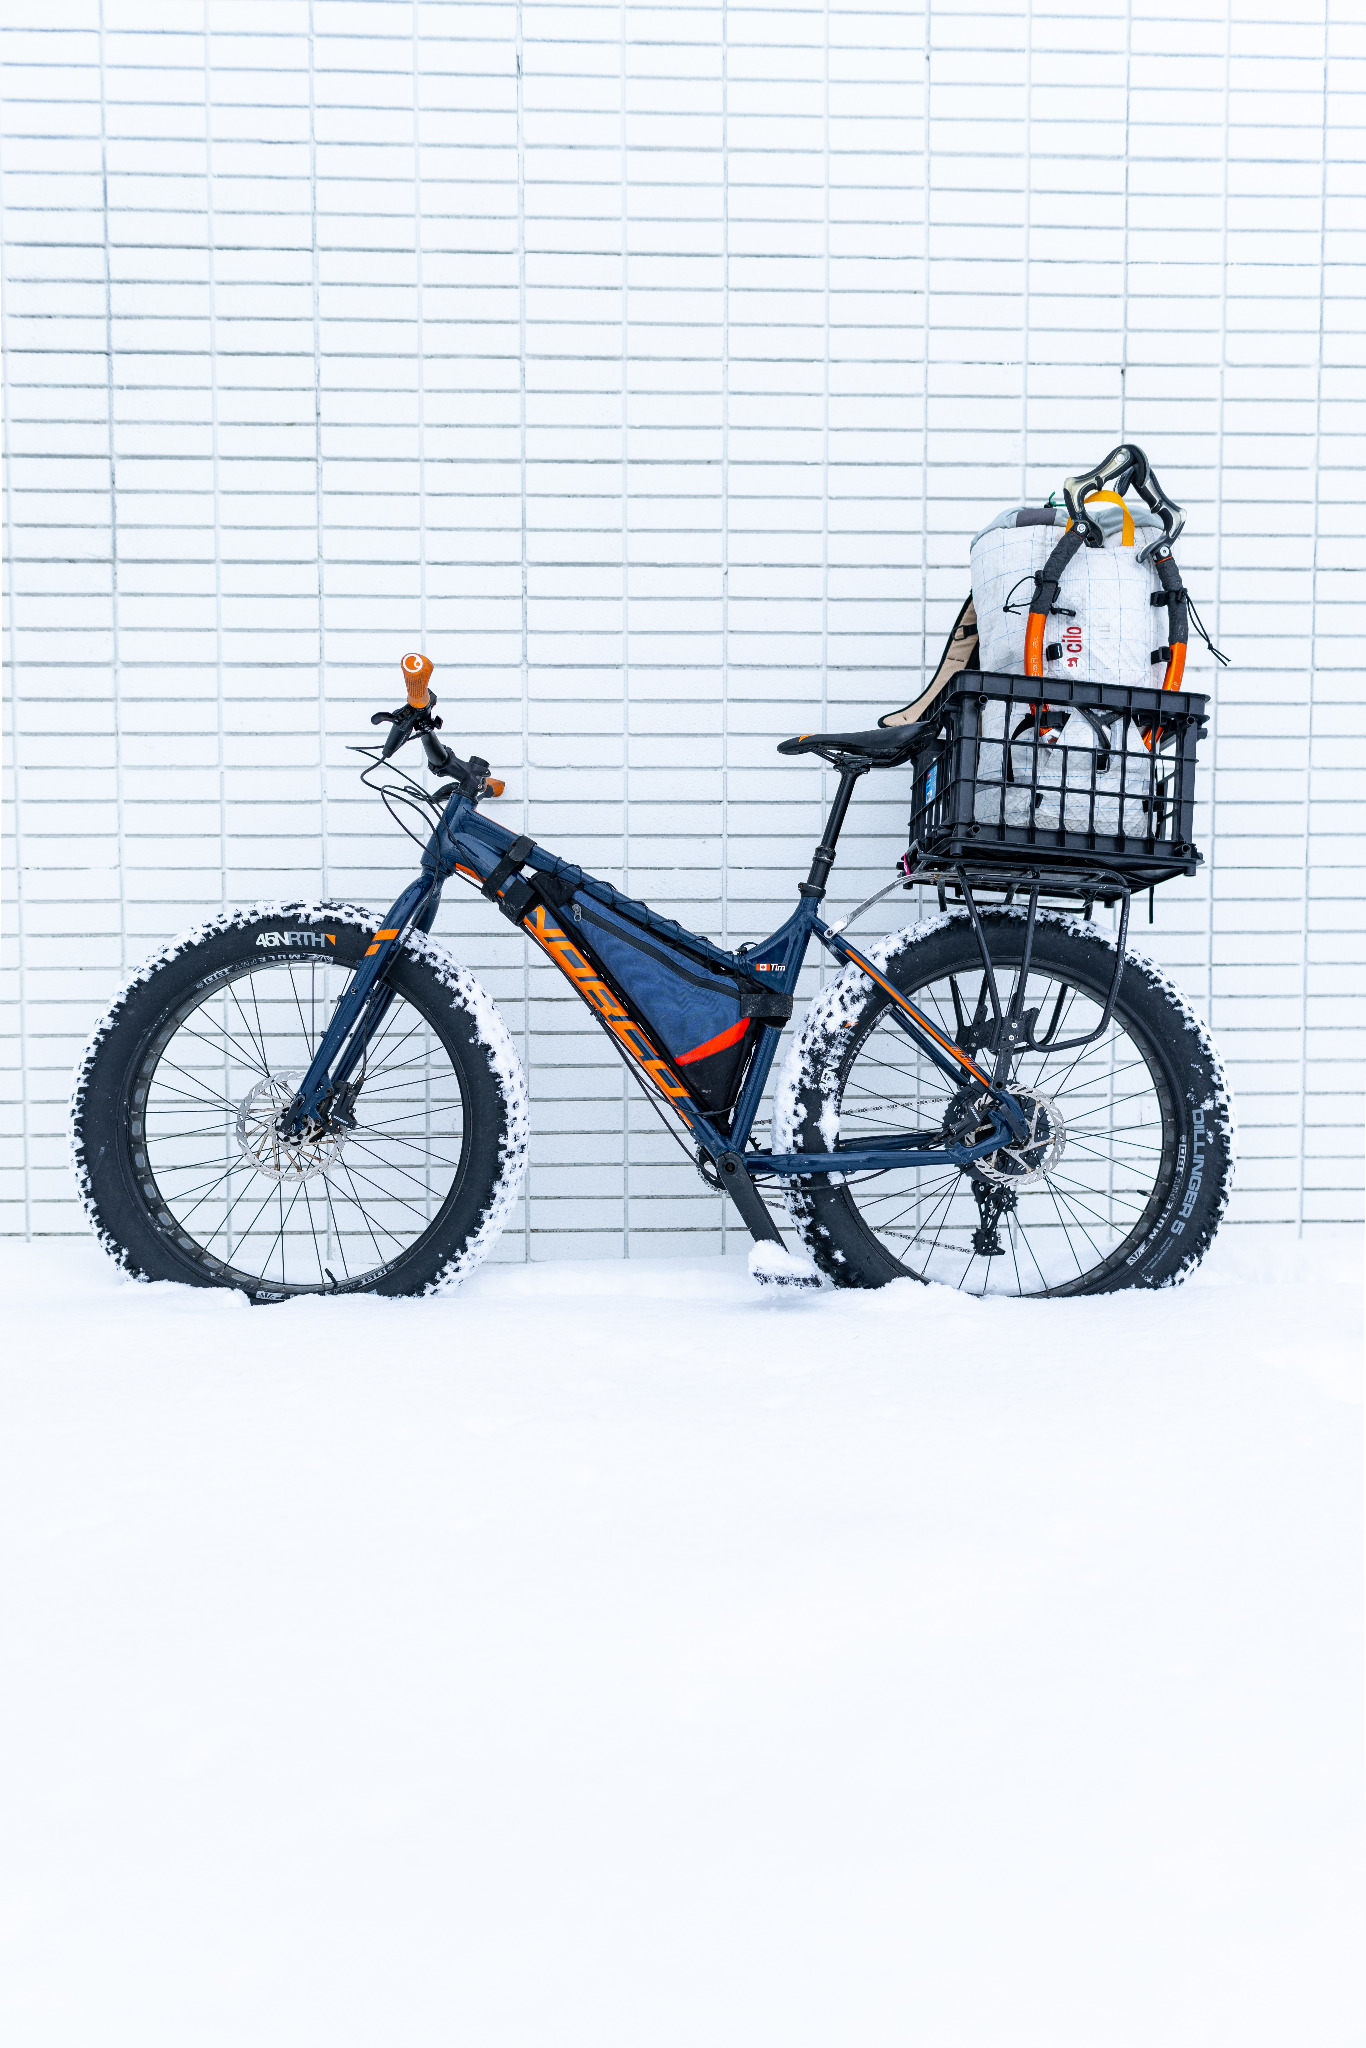
The milk-crate solution
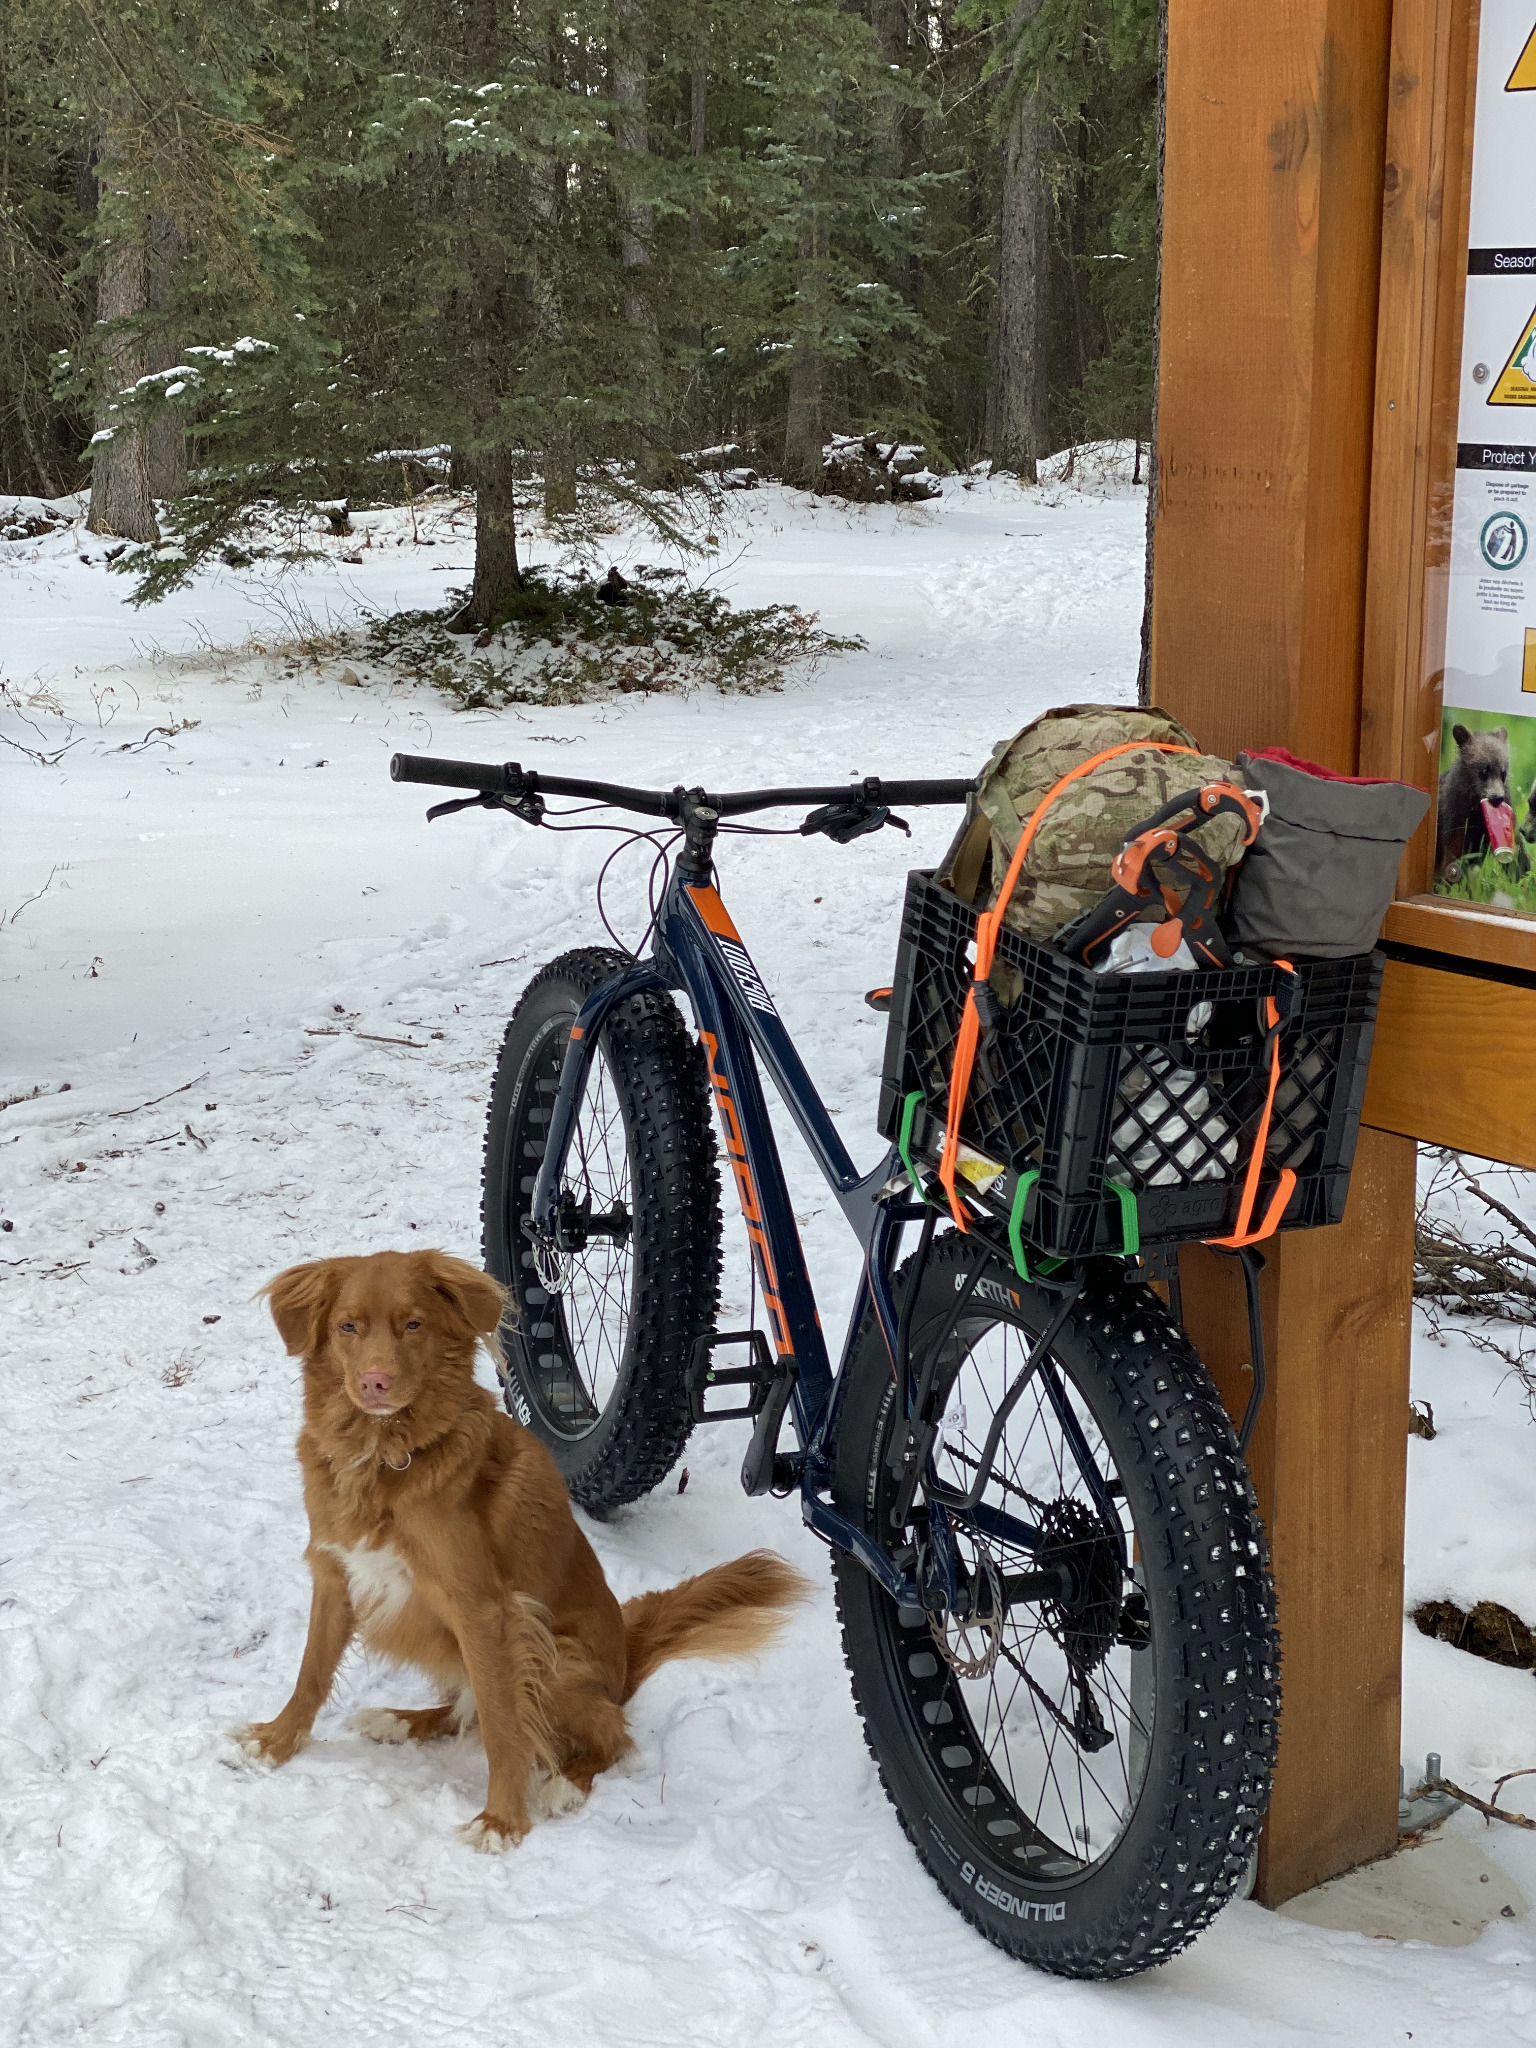
Eventually, a basic milk crate became part of the solution. It wasn't elegant, but it worked. The crate gave the pack a defined place on the rack, helped keep the load from shifting and made it much easier to see when something wasn't properly secured.
The more I used the setup, the more obvious it became that carrying climbing gear changes how the bike rides. A fat bike that feels stable unloaded feels very different once you add a rope, ice tools, extra clothing and a winter pack over the rear wheel.
Gearing matters. Weight placement matters. How everything is attached matters.
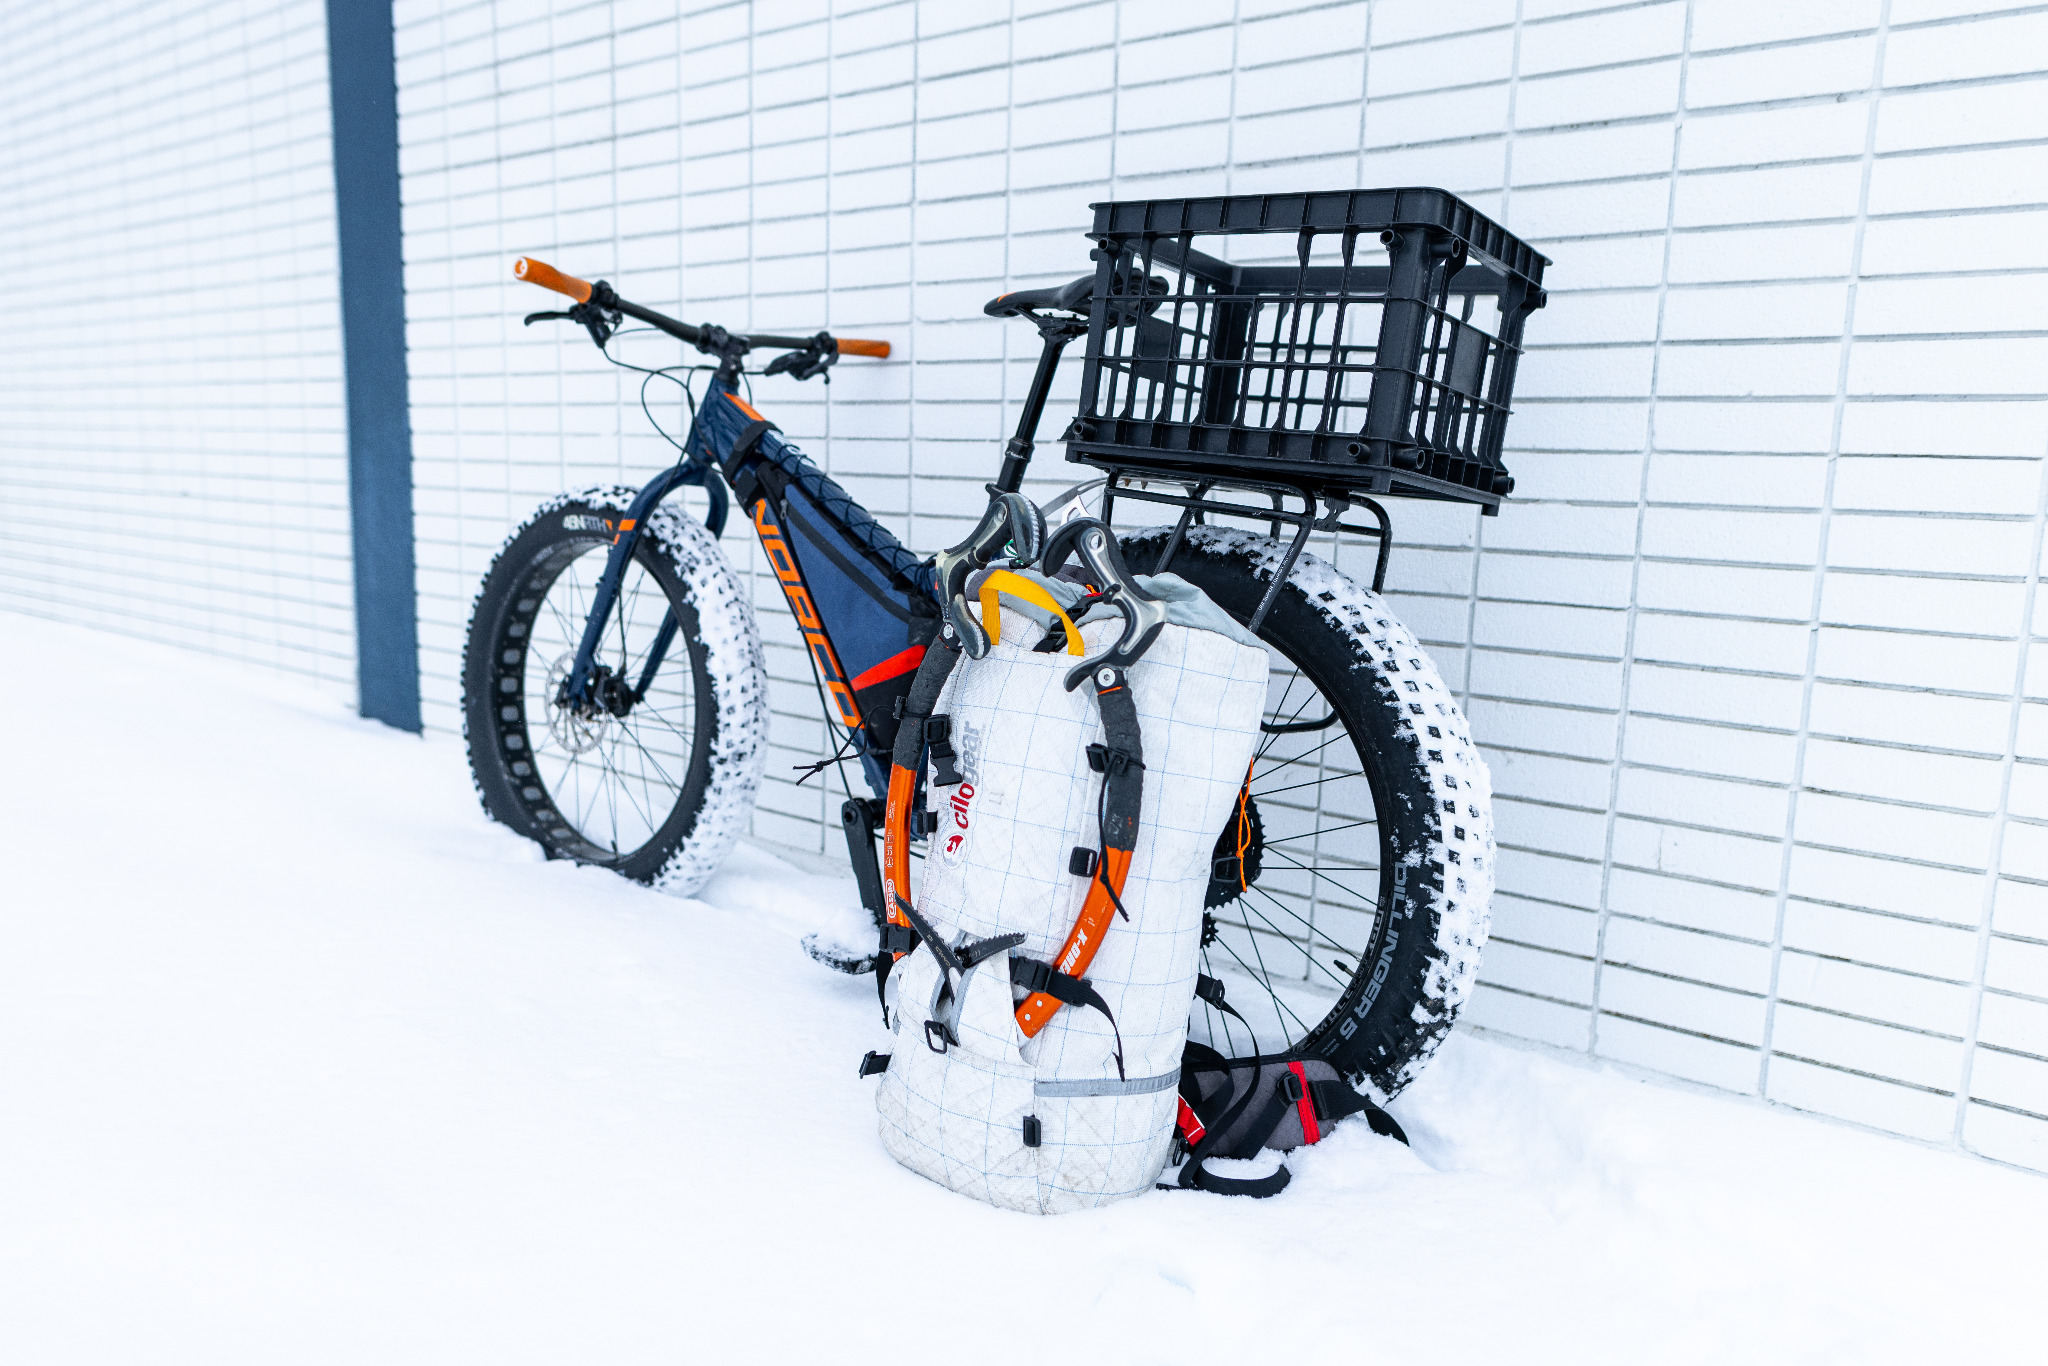
Built around the approach
That trial and error is really what these photos document. This wasn't a matter of buying one particular bike and suddenly having an "ice climbing bike." It was a system that slowly evolved around the approaches I was actually riding.
I originally wrote about the project for Canadian Cycling in its February–March 2025 issue. Looking back, the part that still feels most useful isn't the exact bike or rack. It's the process.
Start with the problem your approach is creating. Change something. Ride it. See what works and what the next problem is.
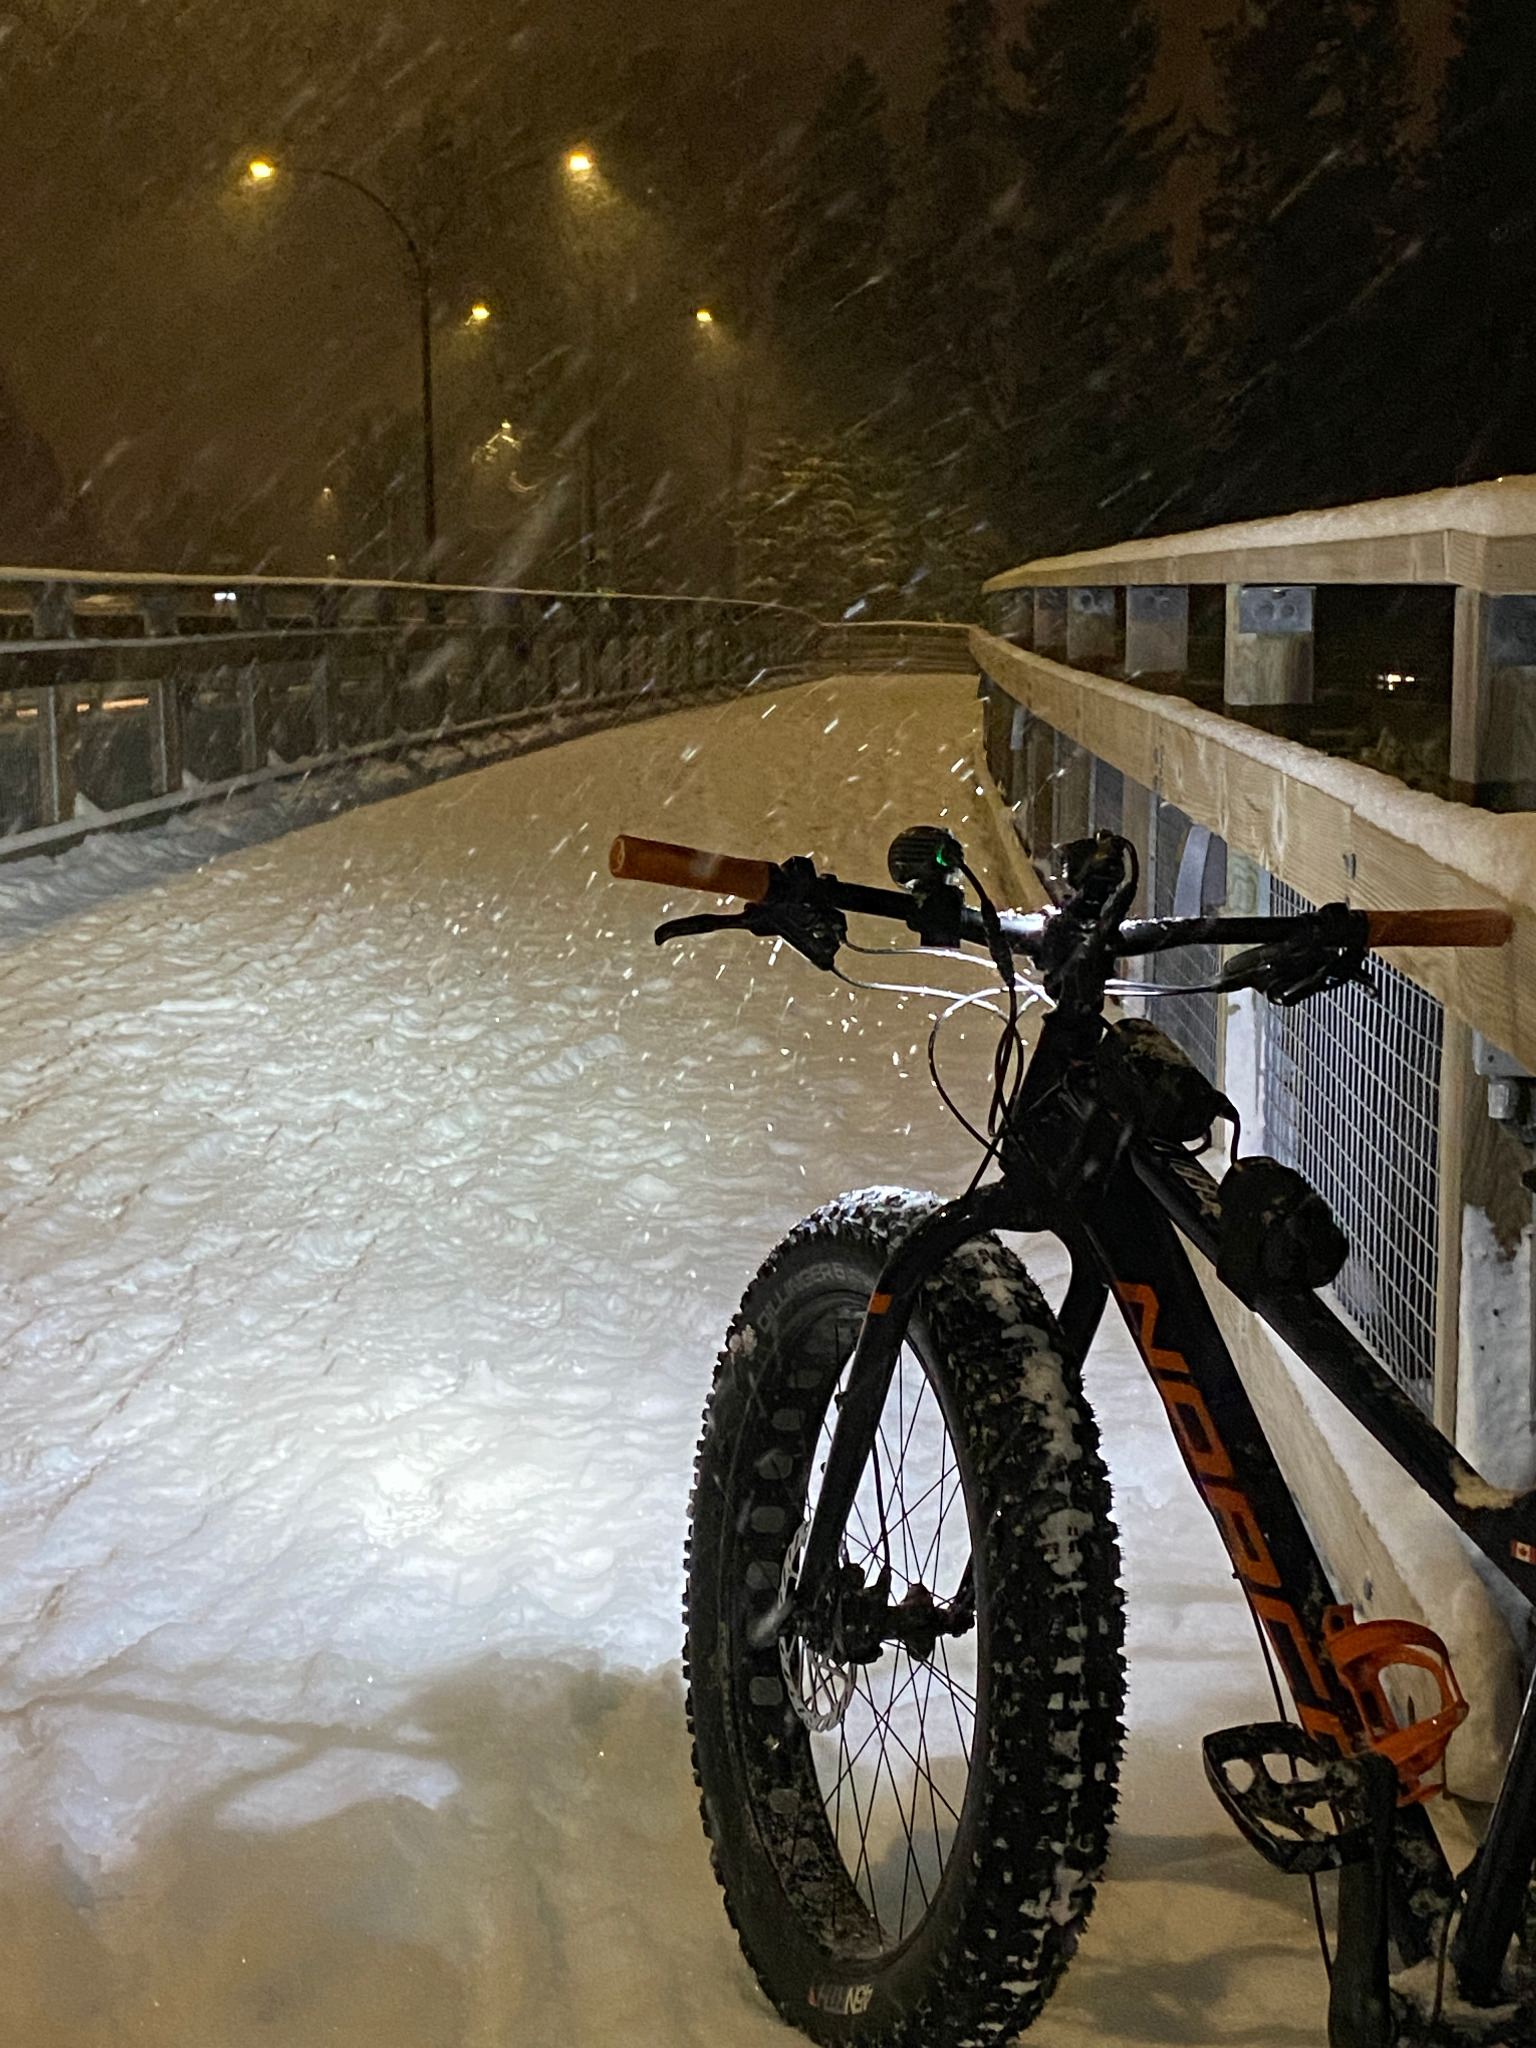
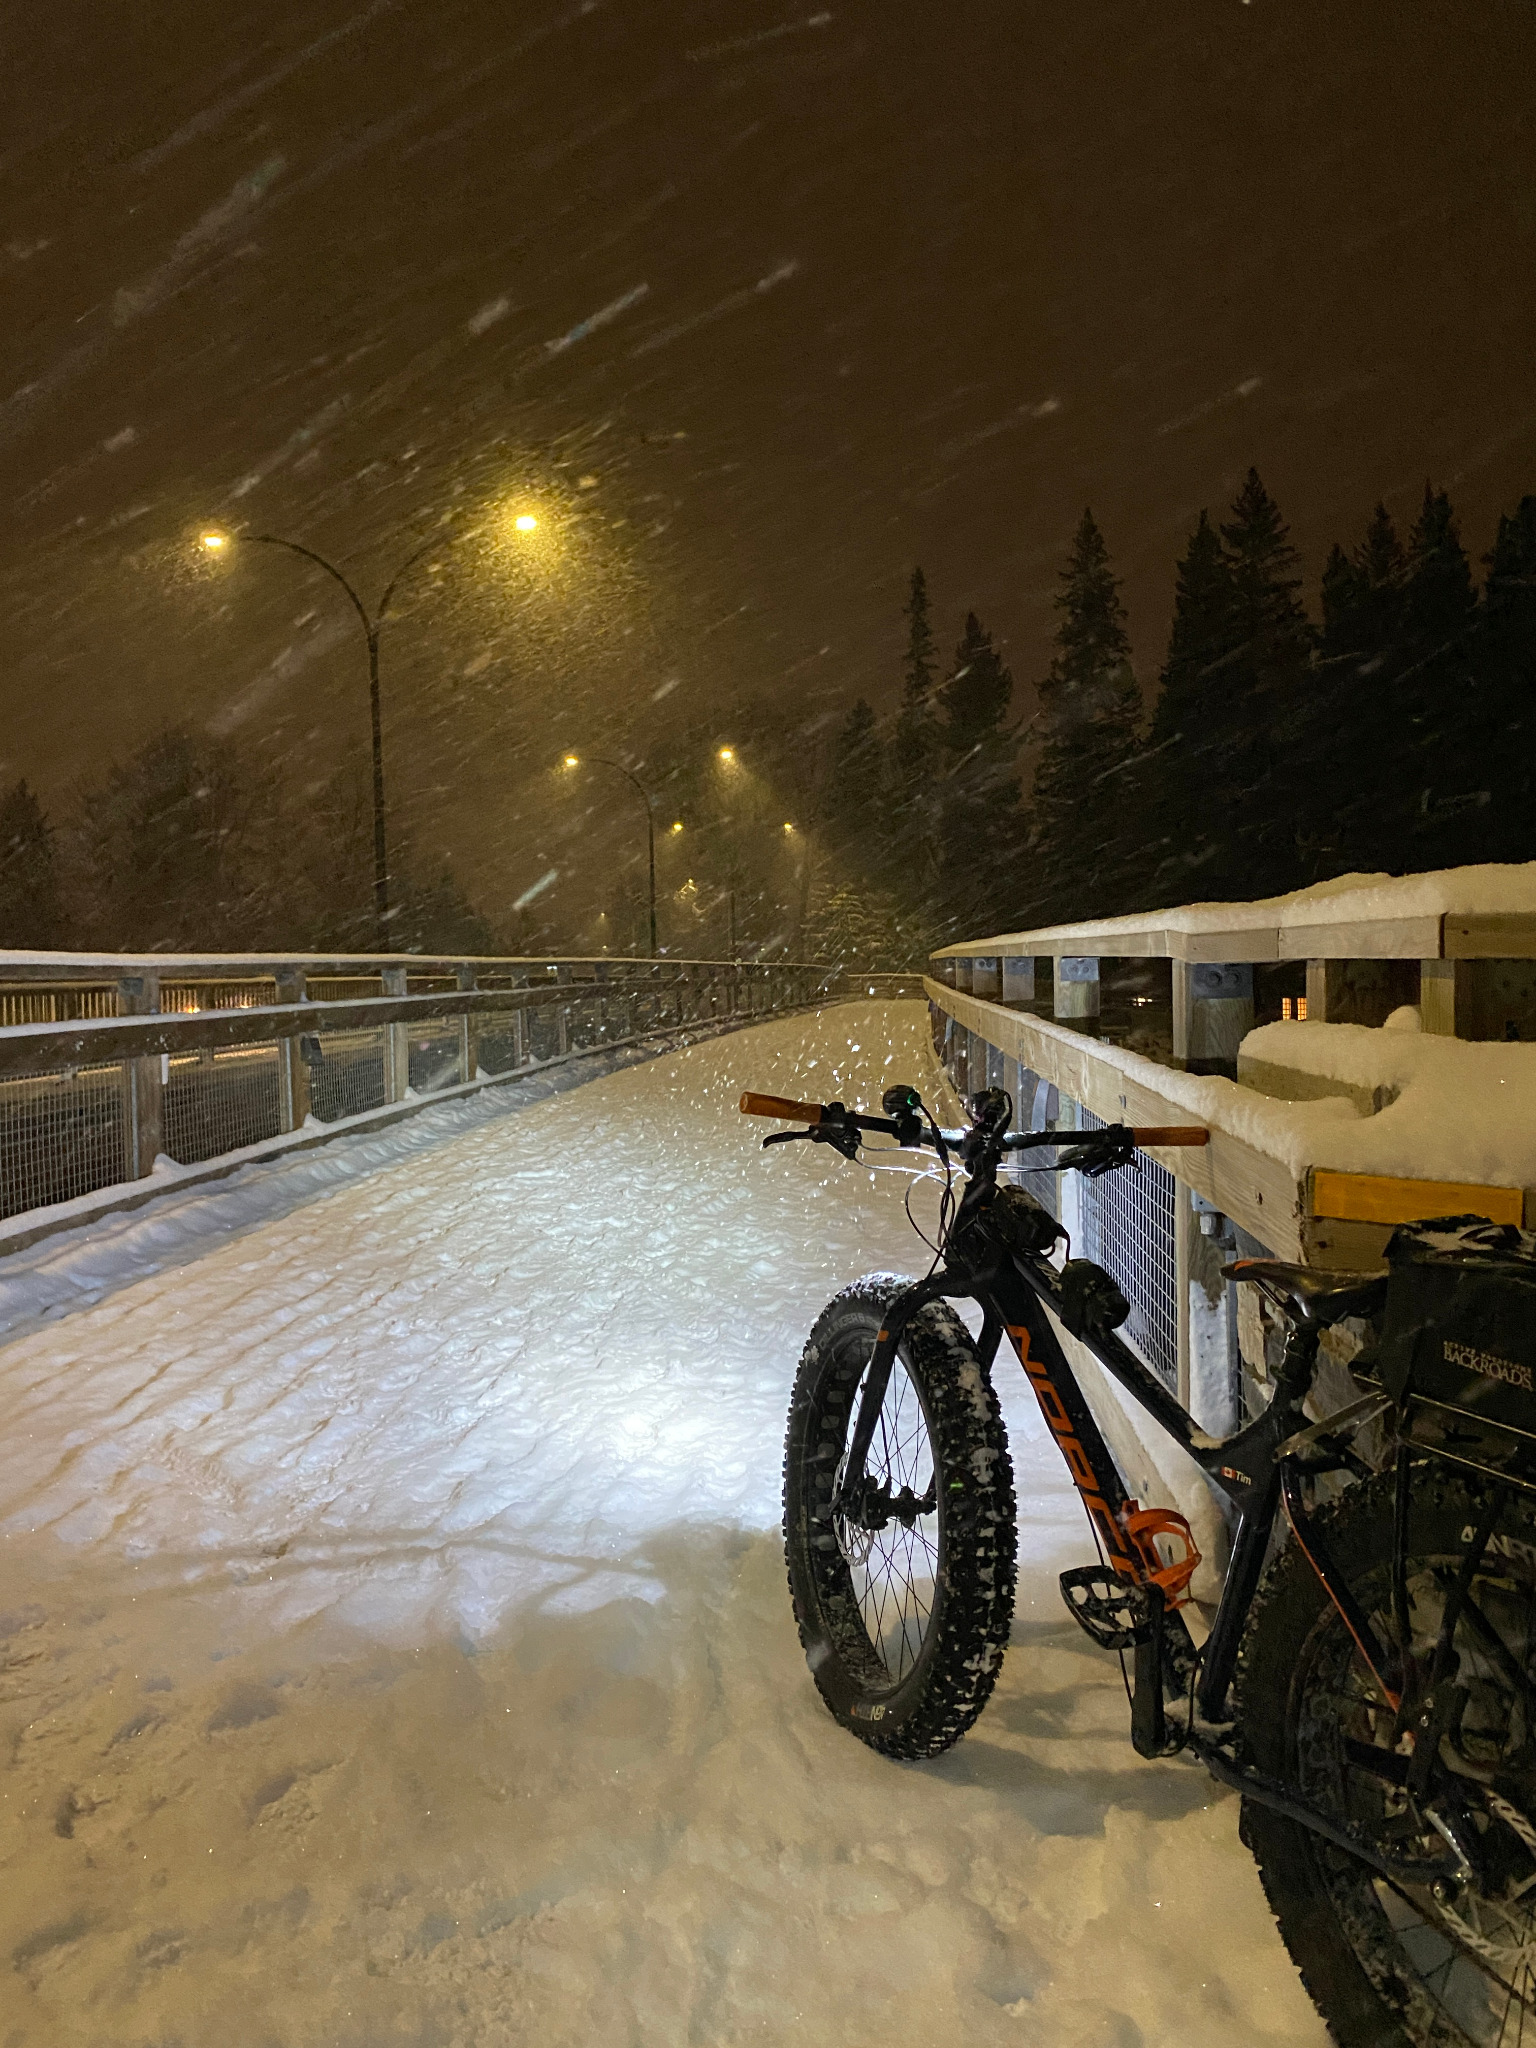
Before the next ride
A bike can make some winter approaches dramatically more efficient, but it isn't appropriate everywhere. Trail permissions, winter access and snow conditions still need to be checked for each outing. Any load also needs to be securely attached, compatible with the bike and completely clear of the tires, drivetrain and brakes.
The best setup isn't necessarily the fanciest one.
It's the one you stop thinking about once you're moving.